Window tinting is a popular solution for enhancing privacy, reducing glare, and improving energy efficiency in vehicles and buildings. However, over time, you may find the need to remove the tint for various reasons, such as damage, discoloration, or simply wanting to change the look of your windows. While removing the tint itself can be relatively straightforward, the adhesive left behind is a different story. That's where a tint adhesive remover comes into play. In this article, we'll guide you through the process of removing window tint and its stubborn adhesive effectively, saving you time and effort.
Why Do You Need to Remove Tint?
Before diving into the removal process, it's important to understand why you might need to remove tint in the first place. Here are a few common reasons:
Wear and Tear: Over time, window tints can fade, crack, or peel due to prolonged exposure to sunlight and harsh weather conditions.
Legal Requirements: Tint laws vary depending on location. You may need to remove or replace your tint to comply with local regulations regarding tint darkness or reflectivity.
Changing Style Preferences: Tints can date a vehicle or building's appearance. Removing old tint can give your windows a fresh look.
Step 1: Loosen the Tint Film
Start by loosening the tint film from the edges of the window. A heat gun or hairdryer can be helpful in this step, as applying heat will soften the adhesive, making it easier to peel away the film. Hold the heat source close to the tint, ensuring you heat the entire window evenly.Once the film begins to bubble or lift at the edges, gently use a razor blade or knife to peel it away. Take care to avoid scratching the glass. Work slowly and steadily, pulling the tint off in a single piece whenever possible.
Step 2: Apply Tint Adhesive Remover
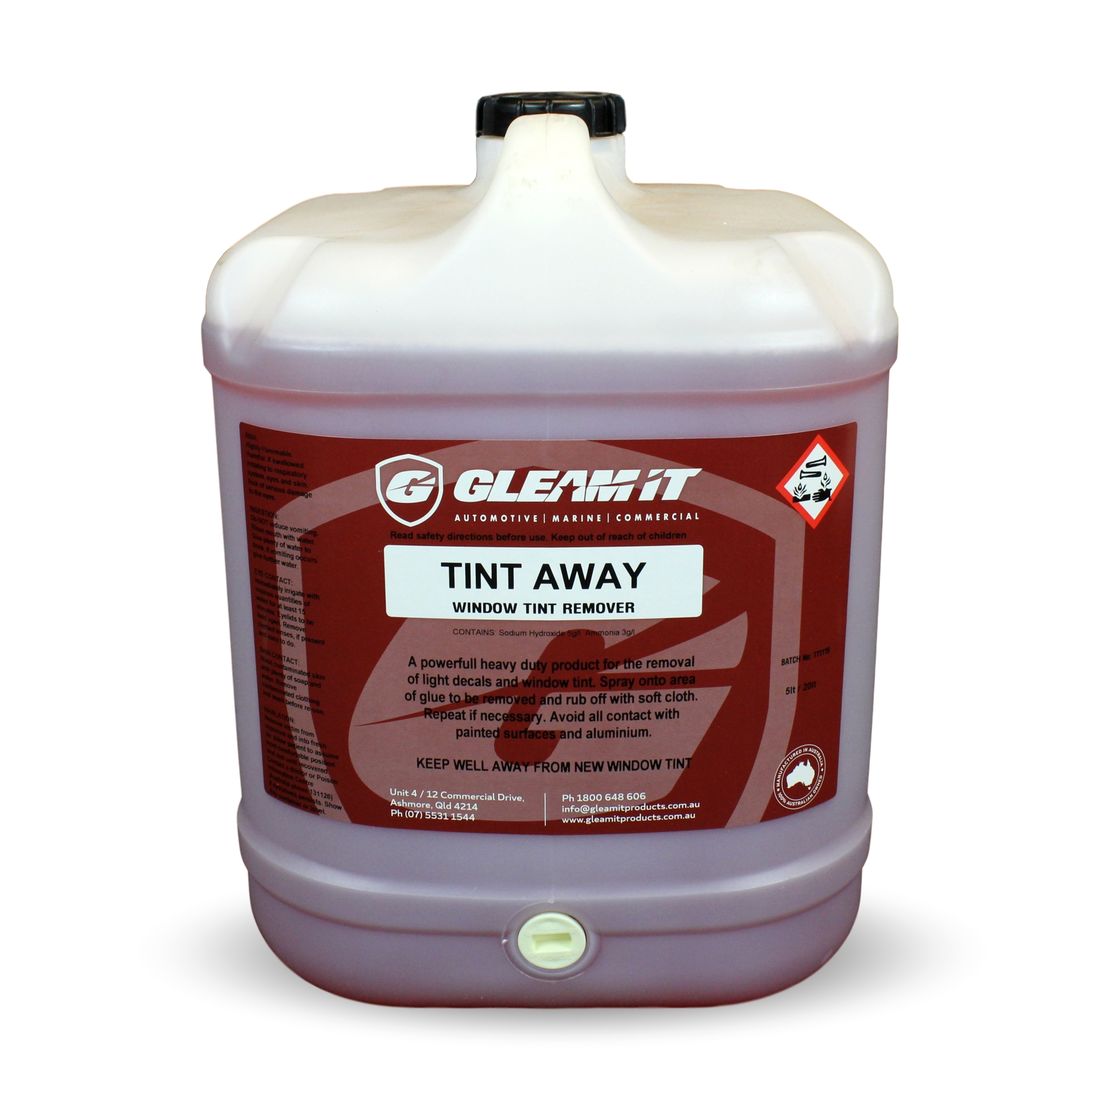
After removing the tint film, you're likely to find a sticky adhesive residue left on the glass. This is where the tint adhesive remover becomes essential. Apply the remover generously to the adhesive using a spray bottle or a cloth. Let it sit for a few minutes to penetrate the adhesive and break it down.It's important to choose a quality tint adhesive remover that is safe for your windows and won't damage the glass or surrounding materials. Most removers are designed to be tough on adhesives but gentle on surfaces, making them a critical part of the tint removal process.
Step 3: Scrape Off the Adhesive
Once the tint adhesive remover has had time to work its magic, use a plastic scraper to carefully remove the softened adhesive from the glass. Avoid using metal scrapers as they can scratch or damage the surface. Work in small sections, reapplying the remover if necessary.Make sure to wipe the adhesive away with a clean microfiber cloth as you scrape it off. This prevents it from re-sticking to the window and keeps the surface clear as you progress.
Step 4: Clean the Window
After successfully removing the adhesive, it's time to give your windows a thorough cleaning. Use a mixture of water and dish soap or an ammonia-based glass cleaner to wipe down the entire window surface. Be sure to remove any remaining adhesive residue and streaks, leaving the glass crystal clear.Finally, buff the window dry with a microfiber cloth to ensure there are no watermarks or smudges left behind.
Click here for more information:-


